Configuring Adapters#
In your adapter repository, within the configs folder, you will find one or more subfolders–each corresponding to a different configuration context. Each subfolder contains a config.yaml file that defines the adapter configuration for that context. Below is an example of a config.yaml file for a test configuration:
configs/test/config.yaml#adapter:
name: ExampleAdapter
remoteConfig: True
name is the name of the adapter as it will appear in the Artificial GUI:
remoteConfig: True indicates that the adapter should use the configuration set through the Adapters page of the Artificial GUI. This is the recommended configuration for general development. See Writing Adapters for more information.
Optional Config Sections#
Local Config#
When remoteConfig is set to False, the adapter will pull its configurations from the values specified in the plugin section of the config file. This is not recommended for normal development, but can be useful for testing and debugging.
Warning
The scheme of the plugin section must match the schema of the plugin config dataclass in the adapter plugin code. If the plugin section is missing or has the wrong structure, the adapter will not start. See Configuring the Adapter for more information.
configs/test/config.yaml#adapter:
name: tutorialAdapter
remoteConfig: False # Since this is false the adapter will use the config in the plugin section
plugin:
benchling:
...
smb_config:
...
resource:
name: "my_Lab_Device_EG_Fluent" # user friendly name, unique in the adapter
id: "fluent 1"
driver:
name: "fluent" # driver server side name. use [server_url]/api/v1/drivers to list what's available
url: "http://myURL:49835" # driver server url, use 44339 if https
resource_simulation: false # resource simulation in remote driver. To run without hardware
driver_simulation: false # local driver api simulation. To run without driver
user_name: "username"
user_password: "MyPassword123"
cert_file: "adapter/certs/ca.crt"
Asset Sync Config#
The asset_sync section is used to map status events coming from an underlying system to the assets that should represent that status. For example, a liquid handler driver might send status events about the overall health of the instrument with key “Liquid Handler” and the movement of plates around the deck with keys like “Plate 1”, “Plate 2”, etc. The asset_sync config maps those keys onto assets in the digital twin.
configs/test/config.yaml#adapter:
...
asset_sync:
devices:
"LiquidHandler 1.1": { rid: "d1234567-34d0-4391-be64-7aef4e0b28be" }
"Incubator 1.1": { rid: "91234567-c7f2-4b5d-aa50-1a6f0408932a" }
"PlateReader 1.1": { rid: "a1234567-e2a3-4263-acd7-8181b15aa92e" }
plate_types:
'96_Well_Cell_Plate': {defid: 'containerDefinition_generic_labware_96_well_pcr_plate', color: '#ffffff'}
'I_96_Well_Cell_Plate': {defid: 'containerDefinition_generic_labware_96_well_pcr_plate', color: '#6666ff'}
plate_locations:
'Hotel:Nests:Nest 1': {rid: 'cfee2626-03f1-4fac-838a-4c45308dab5c', pos: 1}
'Hotel:Nests:Nest 2': {rid: 'cfee2626-03f1-4fac-838a-4c45308dab5c', pos: 2}
'Incubator:Transfer Nest': {rid: 'bbff759c-e021-4181-b566-bb9d85cef115', pos: 11}
'Incubator:Stack 1:Nest 1': {rid: 'eaf4e120-8493-435f-bd42-4134b967b94c', pos: 1}
'Incubator:Stack 1:Nest 2': {rid: 'eaf4e120-8493-435f-bd42-4134b967b94c', pos: 2}
'PlateReader:Transfer Nest': {rid: '305f9320-f6bb-48e0-a3c4-d8c1b3da87c9', pos: 1}
asset_sync has three sections: devices, plate_types, and plate_locations.
devicesmaps device names to static asset instance ids. This is used for instrument-level status updates like “running” or “error”. The key is the name of the asset in the underlying system and theridis the asset instance id.plate_typesmaps plate types to asset definitional types. This is used to create new assets when e.g. a new plate type is detected. The key is the plate type in the underlying system, thedefidis the asset definitional id, and thecolor(optional) is the color of the created asset.plate_locationsmaps plate locations to asset instance ids and positions. This is used to update the location of plates in the digital twin. The key is the location in the underlying system, theridis the asset instance id of the asset that contains the location to reference, and theposis the socket # of the location to place the plate. The slot number can be found by, within the Digital Twin Editor, placing a plate in the desired socket and then hovering over the plate to see the slot number:
Note
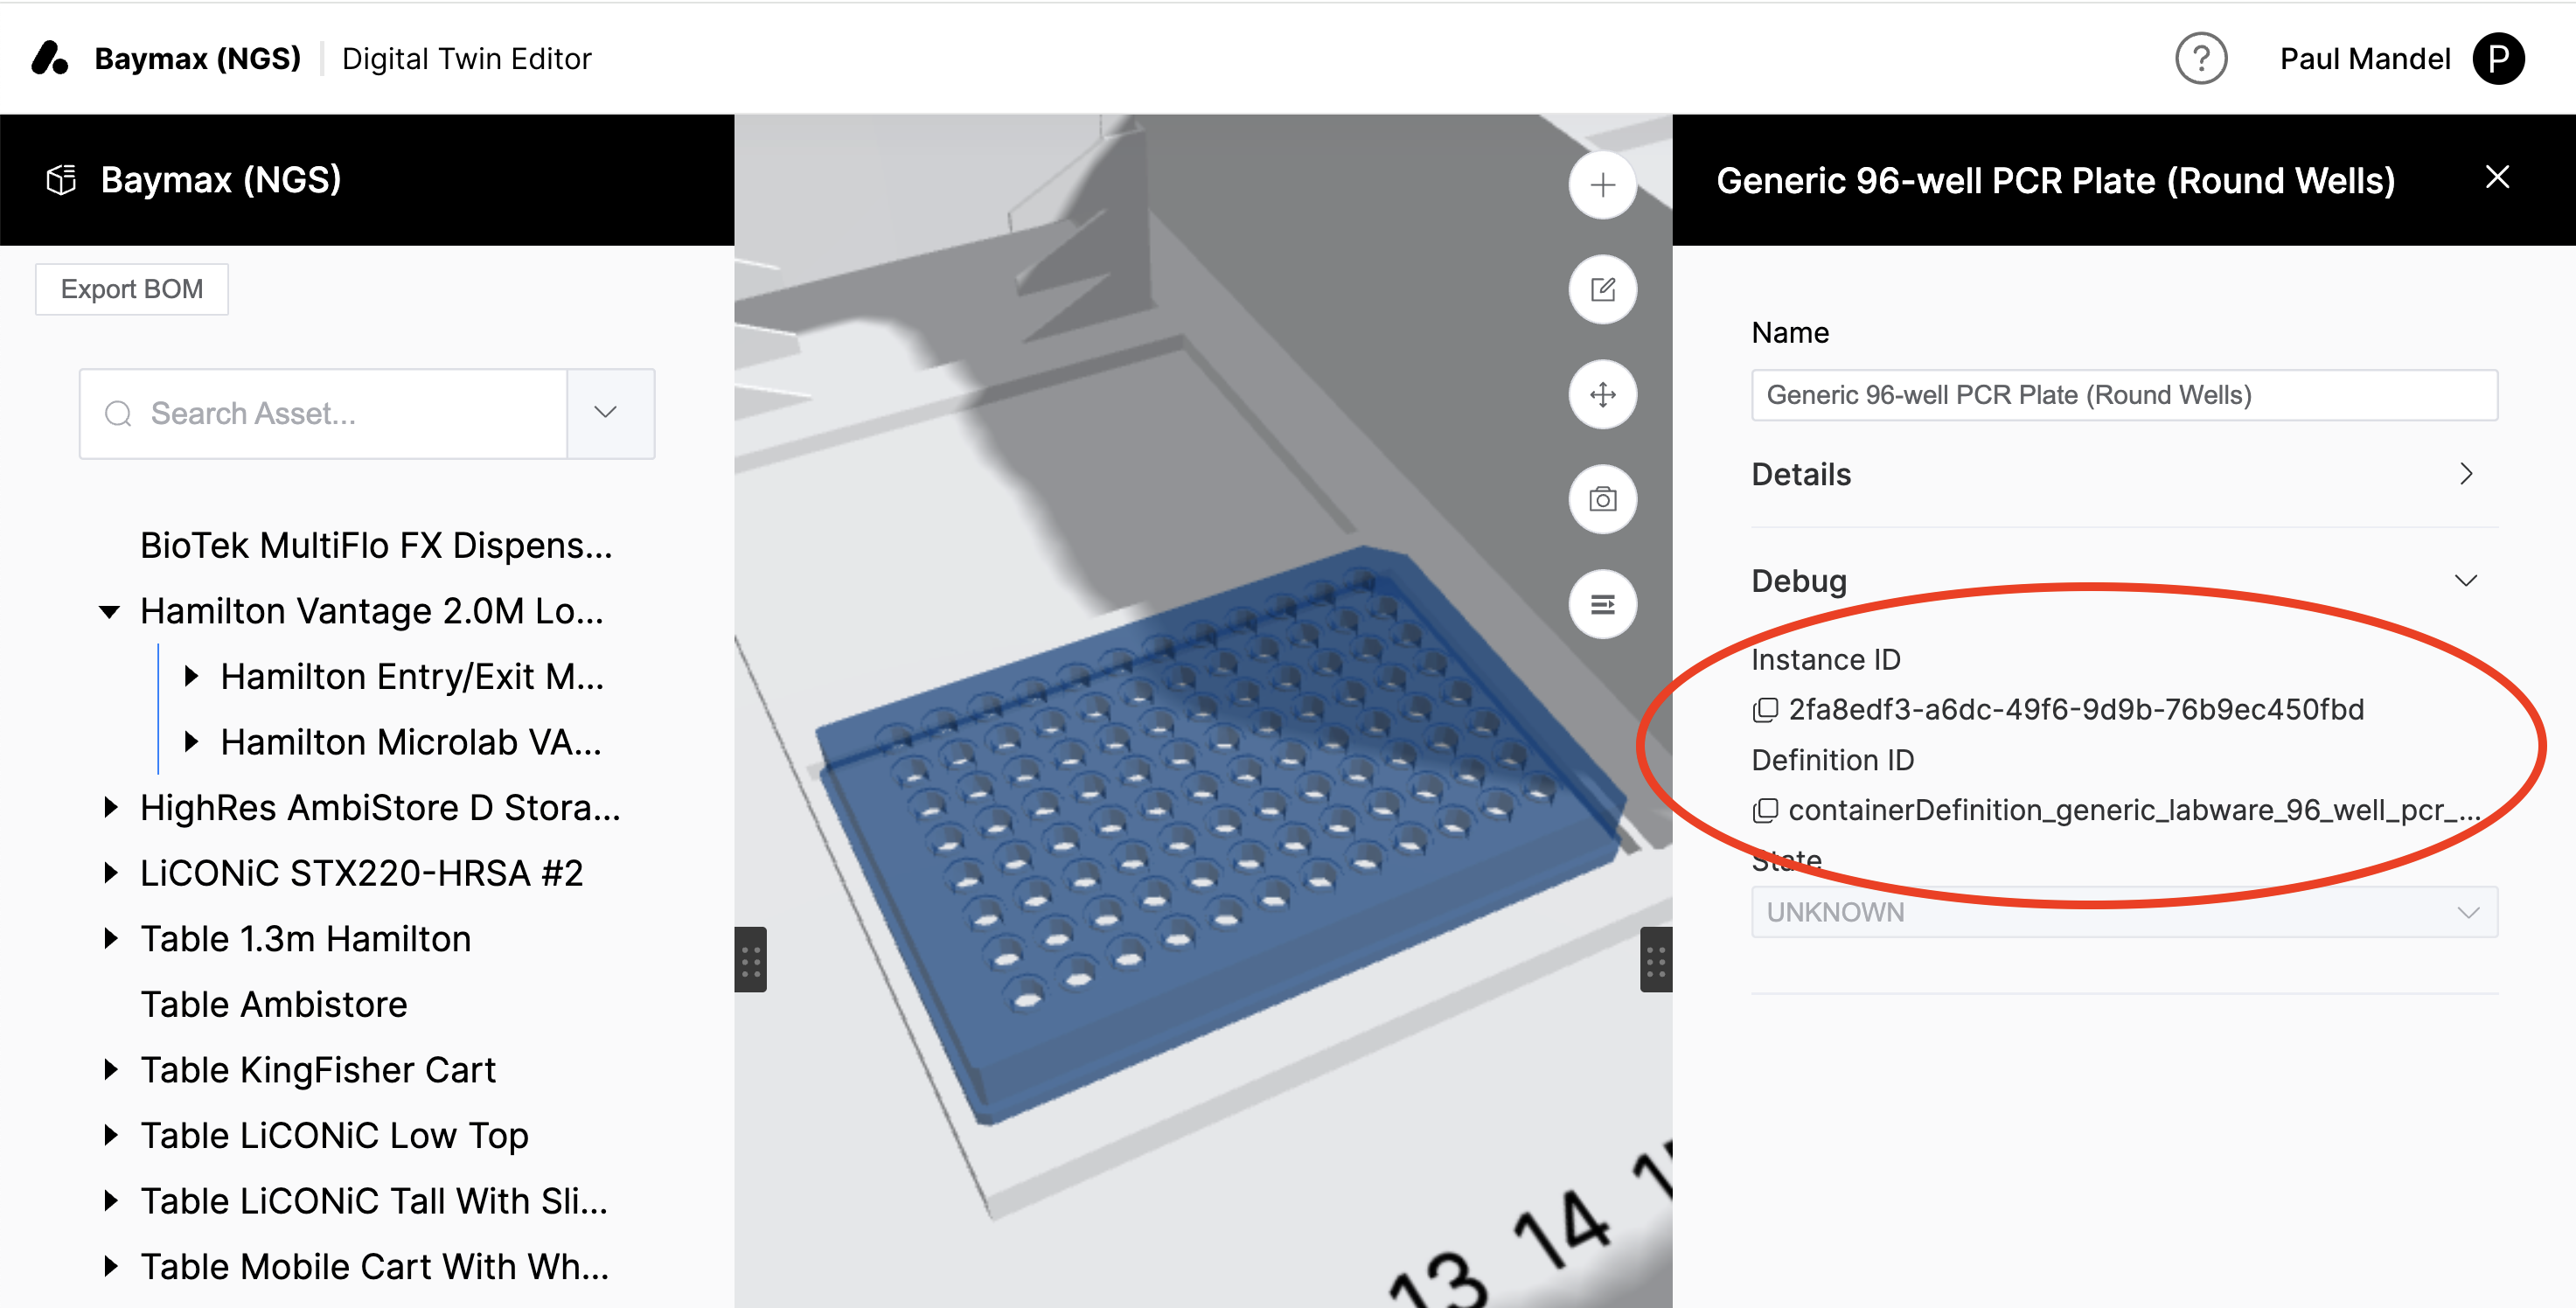
Asset Instance IDs are unique identifiers for each asset you drag into the digital twin. If you delete an asset and drag it back in, it will have a new asset instance id. Instance ids are used to change the state of individual assets.
Asset Definition IDs are unique identifiers for each asset type. If you drag in a new asset of the same type, it will have the same asset definitional id as the original asset. Definitional ids are used to create new assets of a specific type (e.g. a new 96-well plate).
You can find the asset’s instance id and definitional id in the Debug section of the asset details panel in the Digital Twin Editor:
Logging Config#
The log section is used to configure the adapter’s logging. The default configuration (shown below) is usually sufficient, but you can customize it if you want to change the log level or log file location.
configs/test/config.yaml#log:
level: "DEBUG"
loggerLevels:
- logger: "tutorial"
level: "DEBUG"
Deployment Config#
The artificial section is the legacy way of configuring which instance and lab to connect to. This is no longer recommended. Please Sign In to Your Instance instead.
configs/test/config.yaml#artificial:
host: example-instance.artificial.com
lab: lab_1a2b3c-4d5e-6f7g-8h9i-123456abcdef
Warning
If you configure your deployment config manually, you’ll also need to genenerate a new API Token and add it to a secrets.yaml file in the same directory as your config.yaml.
Actor Config#
The adapter.actors section is the legacy way of configuring actors. It is still supported, but we recommend using the new actor configuration format as described in Defining Actors and Abilities.
configs/test/config.yaml#adapter:
...
actors:
- id: "liquid_handler"
abilities:
run_method: 1 # capacity 1
...
Configuration Contexts#
Configuration contexts are a way to manage different configurations for different environments. For example, you may have one configuration context for testing, one for production, and one for development. Each of these contexts could have different settings, such as different driver URLs, different actors, or different log levels.
The configs folder in your adapter repository should contain a subfolder for each configuration context. These subfolders can be named however you want, but only contain letters, numbers, -, and _ (and must start with a letter). Names like test, prod, demo, or dev are fine, but not mycompany@artificial.com or $%#^&. Each subfolder should contain a config.yaml file that defines the configuration for that context.
Adapters can have multiple configuration contexts, but only one context can be active at a time. The active configuration context is the one that will be used when the adapter is run or deployed.
You can set which context is active in the configs/context.yaml file. It has a single line that contains the name of the active configuration context (directory).
configs/context.yaml#activeContext: test
Troubleshooting#
Make sure your context.yaml file is pointed to the correct config context folder.
Make sure the Deployment config in the config.yaml file matches the one under the correct lab in LabOps.
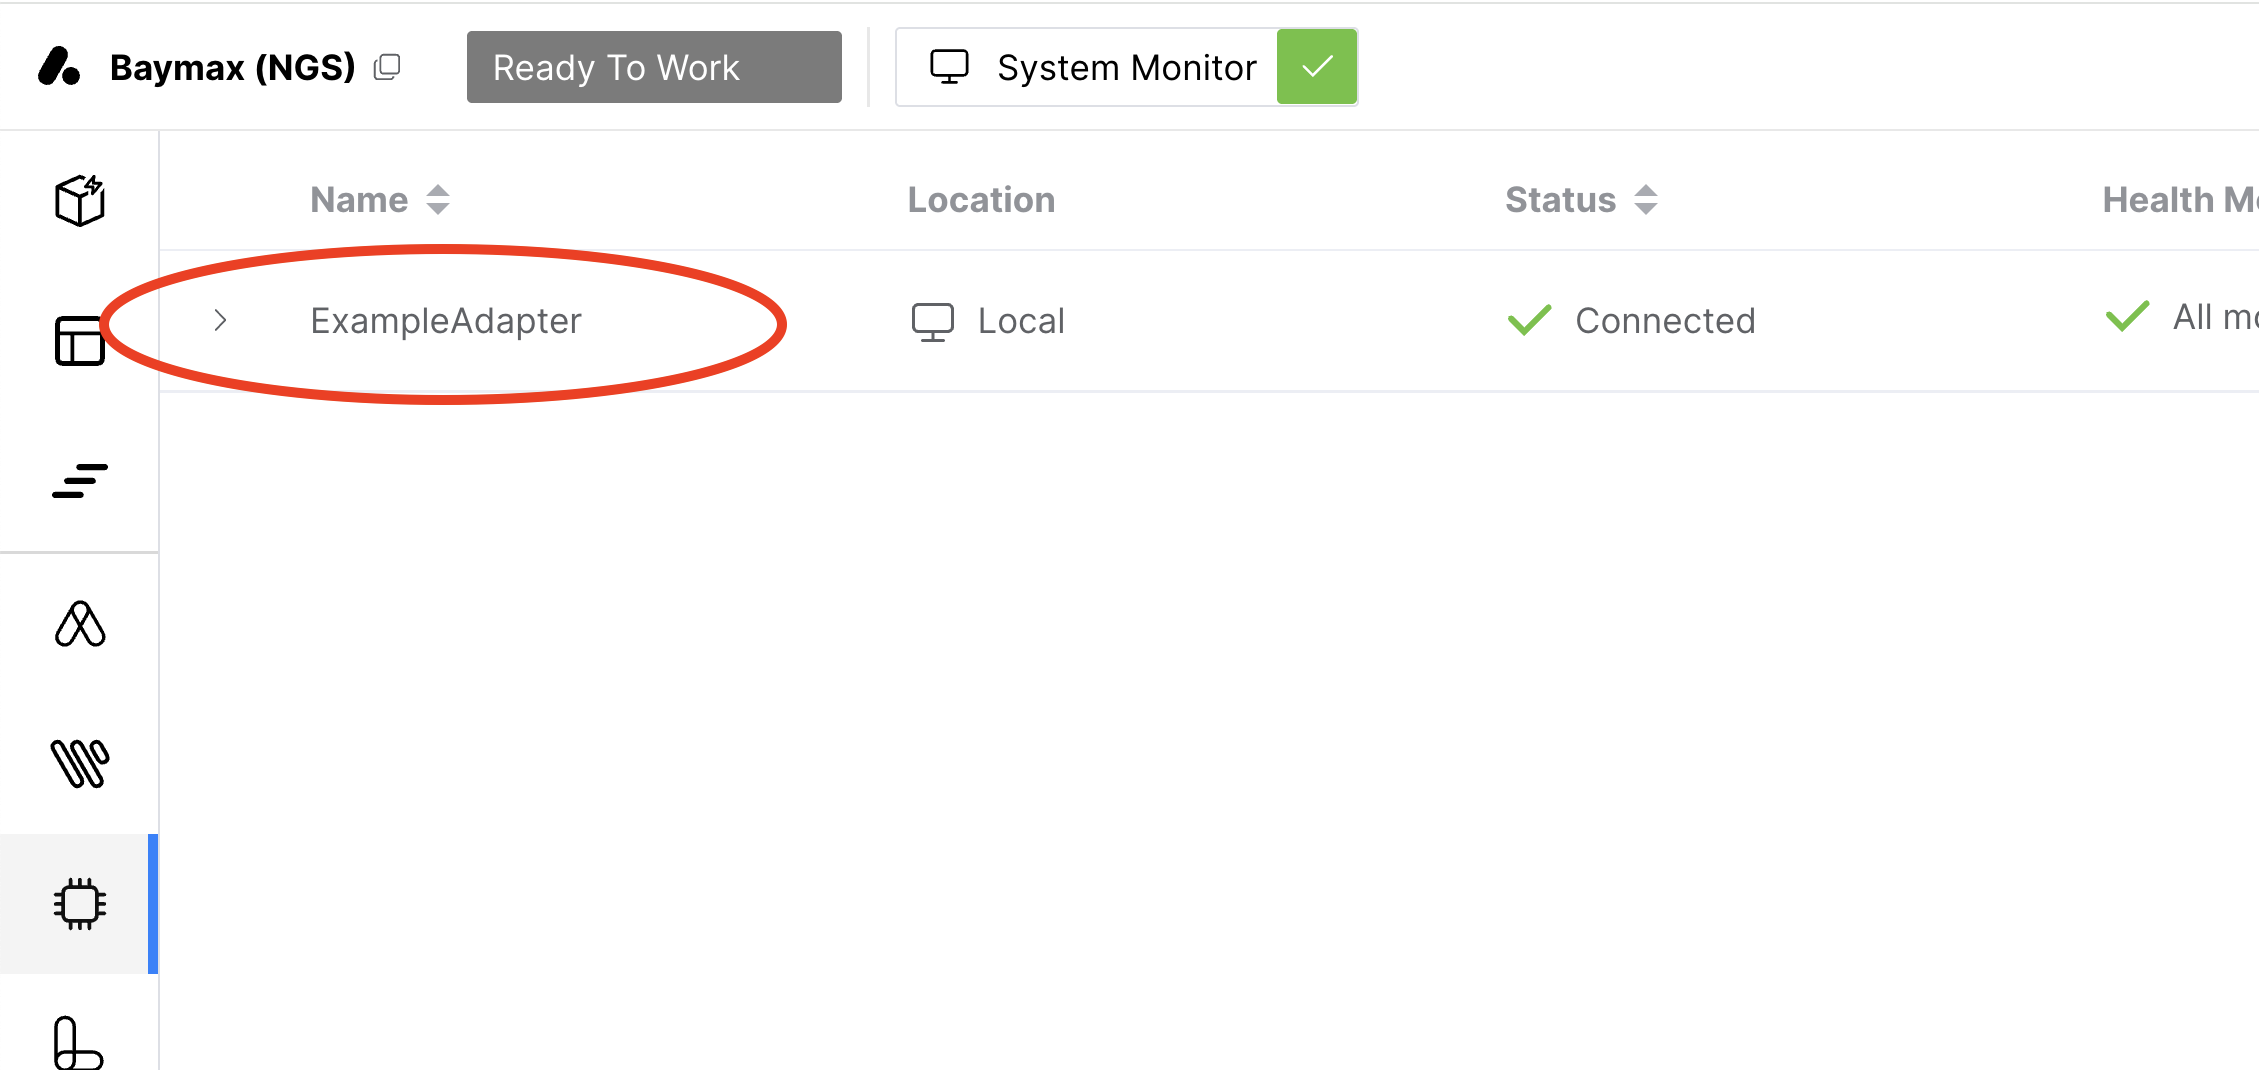
- Check your System Monitor to see if it is connected. If it is not connected, try the below items:
Make sure the computer running the adapter has opened up the port specified in your
config.yaml, usually 49835.Make sure the driver is running or the adapter is set to simulation.
Make sure the adapter is running on the same network as lab/instrument PC.